Digital Doc X80 Autofocus Training
All About Digital Doc X80 Autofocus Training
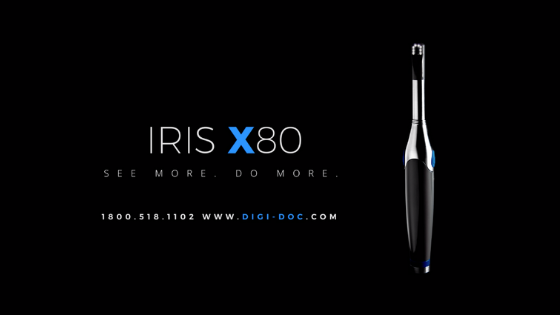
The Digital Doc X80 intraoral camera has liquid lens autofocus technology, which means capturing images is very easy. In this training guide, we will cover how to hold the camera and capture the 12 images in 2-minute series. We will also cover adding the sheath, disinfecting the camera and technical support. The goal of using the camera is educating patients so they understand what treatment is needed. Remember, patients are consumers, and consumers buy based on emotions and not logic. Image quality and ease of use are key to keeping you motivated to taking images for each patient.
Holding the Intraoral Camera
You can hold the camera in two ways. For the face, smile, and lower arch photo, you can hold the camera in the palm of your hand and lay your thumb on the capture button.
For the upper arch image and all intraoral images, hold the camera like a pencil, with the second finger on the capture button. With every image that you take, make sure to have a firm grip. For our 12 images in two minutes, the first four are elective dentistry photos. Some software programs allow you to save the patient’s photo as the patient identification photo for the dental practice.
For full-face photos, brace the camera against your other hand, center the image until you see the patient’s head, including their hair. You can later comment on their hair when they get it cut.
For full smile images, place three fingers on the chin of the patient in the groove found just below their lips. Brace the camera on your hand, using your hand as a fulcrum.
Lower arch. Right after you finish capturing the full smile, feather your forefingers up and spread your fingers. Think of it as opposites; feather up to shoot down. Ask the patient to open their mouth wide, and slightly tilt the camera toward the lower arch before you capture the lower arch image.
Upper arch. Hold the X80 camera with the pencil grip described earlier. Place four fingers feathered down on the chin and place the camera between your first and second fingers. Have the patient open their mouth wide and stand the camera straight up. If the lips are covering the anteriors, have the patient smile while the mouth is open.
Intraoral images. You may find it comfortable to capture intraoral images by bringing the patient chair back, and you do not need the overhead light for these images. You can take all the images inside the patient’s mouth with two fingers resting on the lower anteriors of the patient and seesawing the camera up and down. For lingual and buccal images, just turn the camera slightly and slide it across your finger
So far in the 12 images in 2 minutes, we have taken face, smile, lower and upper arch. Now with your two-finger fulcrum, we will start with the upper right back lower molar, then move to the first molar and bi. Simply slide the camera across your fingers to then take the upper left molar, then molar and bi on that side. Turn the camera over and repeat on the lower left side, and then move to the bottom right side.
You have finished your 12 images in 2 minutes, and it requires ten seconds to take each image. You will be able to complete these images in under 2 minutes in no time.
One additional image that is popular is the hygiene shot. For this, you will use two fingers. One will go under the camera resting it against number 8 and number 9. Your second finger is placed on the chin and the two fingers are spread like scissors. Here you will tilt the camera and capture the lower interiors to show buildups, stains and to show before and after images once cleaning is complete. These images are popular for building the value of what a dental office does.

The sheath and Disinfecting the Camera
The sheath is primarily used to keep the camera from fogging. Place the camera light side down under the second layer of the sheath. Slide the camera in and then peel the top blue layer. These are designed specifically for IRIS cameras. The optically clear side is on the bottom. Make sure that the camera leans with this side down.
Disinfecting. We recommend that you use Digi Wipes for disinfecting the IRIS camera and cable. This is an ethanol-alcohol product which studies have shown to kill four of the most difficult bacteria. You can also use standard Cavi wipes on the camera and cable; just don’t submerge the camera and cable in any type of solution.
To disconnect the camera, don’t pull from the cable. Instead, hold on the stainless part of the cable with a firm grip and pull the cable from the camera. To reconnect, line up the arrows and push back into the camera.
Warranty and Tech Support
Your camera carries a 2-year manufacturer’s warranty. For any technical support, please contact us at the Digital Doc corporate office located in Northern California. Call 1-800-518-1102. Our Digital Doc team is always happy to help.

